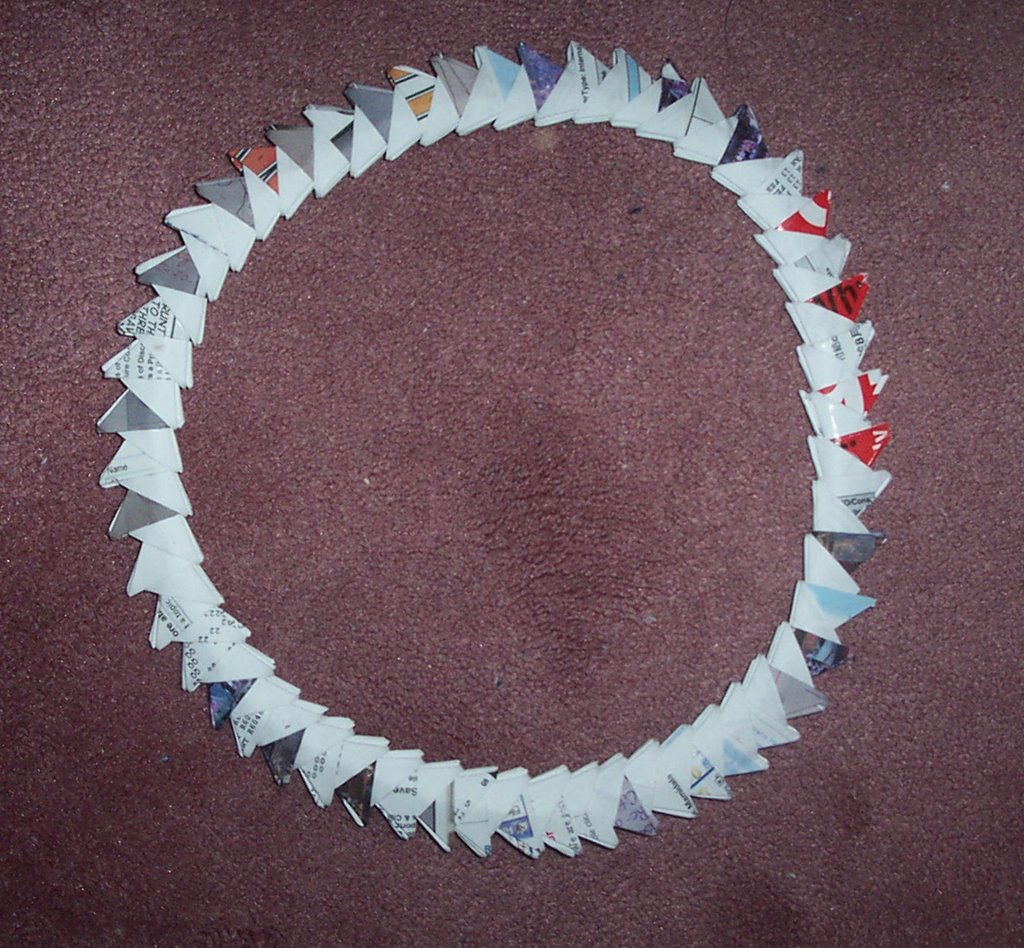
 In the office, there's this program called "Follow The Sun". The idea is that wherever the sun rises and sets, us tech servants will be ready for our clients. Of course, it would be prohibitively expensive to hire more American workers, so the way to achieve that is to hire more, lots more, Indian people in Mumbai and Bangalore. I made this 3D origami "sun" model to go with the program. It's supposed to be a perfectly round circle, but things got somewhat out of control at some point.
I first saw the book 3D Origami: Step-By-Step Illustrations (ISBN 4-88996-057-0) at a Japanese bookstore near some Japanese supermarket in New Jersey. It was written in Japanese, so much as I wanted to get it, I knew I wouldn't get far since I don't read Japanese. Years later, I found an English version of it, probably at a Barnes & Noble, and I bought it right away.
Traditional origami forbids the use of scissors and glue once the folding begins, but 3D origami doesn't follow that rule. All 3D origami starts with the basic unit, a triangular piece with two pockets for other pieces to connect with. To hold the pieces together better, since there's no locking mechanism anywhere, glue must be used.
My "sun" is really called a ring. You are supposed to put an origami crane or frog in its center. It's one of the simpler models in the book and isn't even really 3D. There are other models like vase, crane, and balls. If you like modular origami, you should check out this book. Enlist the help of a young girl or two, as you'll need many hands to fold all the units to piece together to make your end result. I have my 9-year-old niece, who shall be called iMac, helped me. The pieces she made are not as pointy or sharp as I prefer them to be, but I take any help I can get.
The "sun" is actually not my first 3D origami piece. I made the first sun with a smaller size. I gave it to my ex-colleague Gassed this past Thursday when she started packing her cube to leave for the last time.
No comments:
Post a Comment